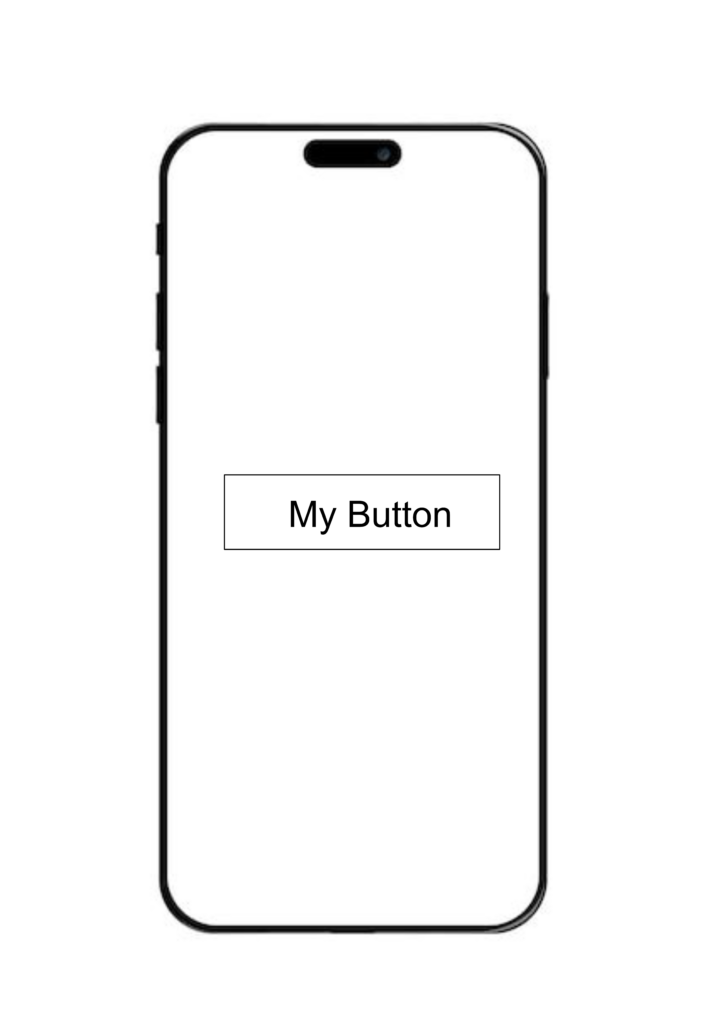
In the above image an iPhone screen having UIButton at the center of the screen, let’s add a button in xcode follow below steps:
- Open Xcode app and chose “App” and click “Next”
- Give project name and select “story board” as interface
- Select project location, where all the xcode files to saved
Now open ViewController and add below code.
import UIKit

class ViewController: UIViewController {

    lazy var button: UIButton = {
        //Create a button object
        let button = UIButton()
        //Set title and its color
        button.setTitle("My Button", for: .normal)
        button.setTitleColor(.black, for: .normal)
        //Set border color and width
        button.layer.borderColor = UIColor.black.cgColor
        button.layer.borderWidth = 1.0
        //Disable the autoresizing mask to constraints
        button.translatesAutoresizingMaskIntoConstraints = false

        return button
    }()

    override func viewDidLoad() {
    //...
    }
}
In the above code we have just created a button and set its properties such as title, title color, border and border width, also we have disabled the “translatesAutoresizingMaskIntoConstraints” property, this should be false for all the views that is created programatically and using the autolayout. This property is by default set to false for all the views that is added in interface builder or storyboard.
Let’s replace viewDidLoad() method and add below code.
 override func viewDidLoad() {
        super.viewDidLoad()
        // Do any additional setup after loading the view.
        addButton()
    }

    func addButton() {
        view.addSubview(button)

        //Adding constraints for button
        NSLayoutConstraint.activate([
            button.centerXAnchor.constraint(equalTo: view.centerXAnchor),
            button.centerYAnchor.constraint(equalTo: view.centerYAnchor),
            button.heightAnchor.constraint(equalToConstant: 35.0),
            button.widthAnchor.constraint(equalToConstant: 150.0)
        ])
    }
In the above code we defined a method called addButton() and we are calling this method from viewDidLoad(). Here we are adding the button to view controller’s view and also adding constraints for button to lay in center of the screen with constant width and height.
Now let’s run the code you will see My Button is displayed in the center of the screen as shown in below image.

Now let’s add some button action, when we tap on the button some method will get called. Edit the addButton() method to set the action for button as shown in below code.
func addButton() {
        view.addSubview(button)

        //Set Button action
        button.addTarget(self, action: #selector(buttonTouched), for: .touchUpInside)

        //Adding constraints for button
        NSLayoutConstraint.activate([
            button.centerXAnchor.constraint(equalTo: view.centerXAnchor),
            button.centerYAnchor.constraint(equalTo: view.centerYAnchor),
            button.heightAnchor.constraint(equalToConstant: 35.0),
            button.widthAnchor.constraint(equalToConstant: 150.0)
        ])
    }
Now we have to define the method buttonTouched() or else compiler will give an error, let’s add new action method that will get called when we tap on the button.
@objc func buttonTouched() {
    print("My Button touched")
}
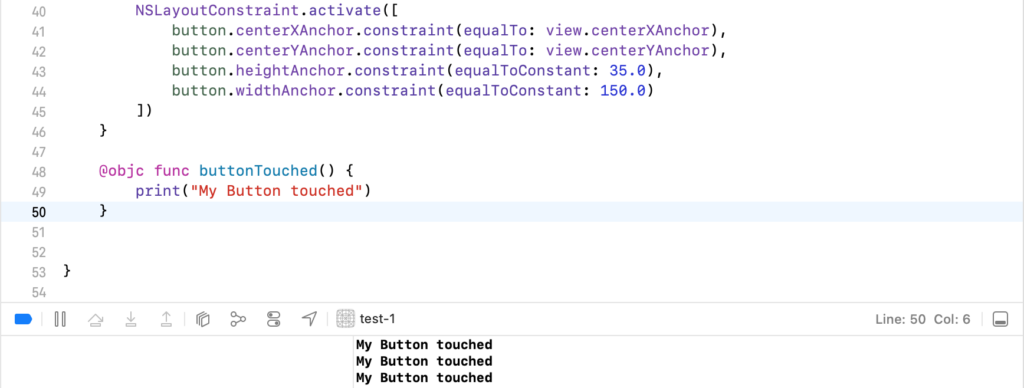
In the above code we will simply printing the test on the console to verify that our button action is working.
Let’s run the app and try it out.. tap on the button and you will see My Button touched is printed on the console as shown in below image.

You can also add more types of action events, you can give same method to trigger or you can give new methods to get called for different actions, let’s take a look at some other types of action events for our button.
In the method addButton() add below code.
func addButton() {
        view.addSubview(button)

        //Set Button actions are set for same target but with different action events
        button.addTarget(self, action: #selector(buttonTouched), for: .touchUpInside)
        button.addTarget(self, action: #selector(buttonTouched), for: .touchDragEnter)
        //New action methods are set for different action events
        button.addTarget(self, action: #selector(buttonTouchDown), for: .touchDown)
        button.addTarget(self, action: #selector(buttonTouchDragExit), for: .touchDragExit)

        //Adding constraints for button
        NSLayoutConstraint.activate([
            button.centerXAnchor.constraint(equalTo: view.centerXAnchor),
            button.centerYAnchor.constraint(equalTo: view.centerYAnchor),
            button.heightAnchor.constraint(equalToConstant: 35.0),
            button.widthAnchor.constraint(equalToConstant: 150.0)
        ])
    }

    @objc func buttonTouched() {
        print("My Button touched")
    }

    @objc func buttonTouchDown() {
        print("My Button down")
    }

    @objc func buttonTouchDragExit() {
        print("My Button touch drag exit")
    }
Now lets run the app and do some actions like tap and hold, drag left to right some thing like that for every actions that you do respective actions will get triggered, if you tap and hold the button for this buttonTouchDown() will get called, if you drag inside the button and exit the button border configured actions will get called.